
Free tips to work smarter, quarterly!
Get insights on how to automate your business, improve customer experience, and create more free time for yourself!


When scheduling appointments, the easier you make it for your clients, the more likely they are to complete the booking. The less information they have to enter, the smoother the experience.
Calendly allows you to pre-fill invitee information on your scheduling page. This helps reduce friction, prevents common mistakes, and creates a clear, professional booking experience for your clients.
Why pre-filled invitee information matters
Every extra step in the booking process is a potential barrier. By pre-filling known information, you:
- make scheduling easier for your clients
- reduce errors in names and email addresses
- increase the likelihood that appointments are completed
- create a more professional and consistent experience
This approach works especially well for recurring appointment types such as intake calls, sales conversations, onboarding sessions, or follow-up meetings.
How pre-filling works in Calendly
Calendly uses parameters in the scheduling link to pass information directly to the booking page.
For example:
https://calendly.com/yourname/intake?name=John%20Doe&email=johndoe@example.com
In this example, the invitee’s name and email address are already filled in when the scheduling page opens. Invitees can still edit the information if needed, but they don’t have to start from scratch.
When is this most useful?
Pre-filled invitee information is especially effective when you work with repeatable appointment types, such as:
- intake calls
- discovery or sales calls
- client onboarding sessions
- recurring meetings
Because the structure of these conversations is similar, you can streamline the booking process without making it feel impersonal.
Combine pre-filled data with automation
If you use tools like ActiveCampaign or other CRM and marketing automation platforms, you can dynamically pre-fill invitee information directly from your systems.
This creates a seamless workflow:
- less manual work
- fewer errors
- more consistency across your processes
By applying this thoughtfully, you make scheduling easier for your clients and create a more consistent and reliable process.
Want to work smarter with your scheduling and systems?
- Explore more free Calendly videos and articles with practical explanations and smart use cases.
- Check out my complete Calendly course (in Dutch) and learn how to automate appointments, optimize your calendar, and create more calm in your planning.
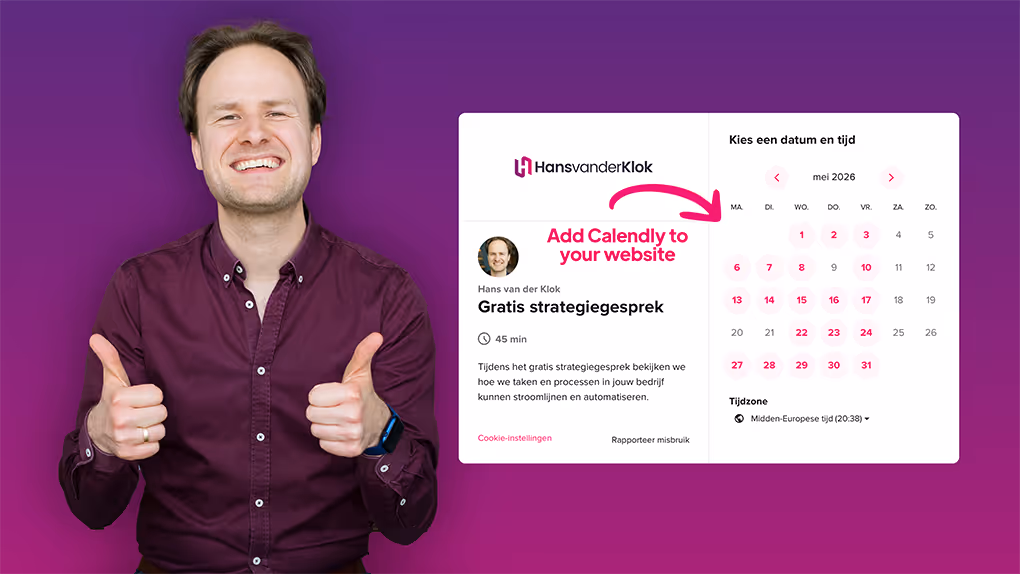
- Book a free strategy call and discover how I can help you streamline your processes, systems, and planning.


Hi, I'm Hans! It's my passion to automate workflows, giving you more free time, improving customer experiences, and growing your revenue.